So if you’re going to splurge, it’s essential to learn the best approach to grilling — the keys to steak that’s melt-in-your-mouth tender, with a flavorful, crisp exterior.
Before you head to the store to select your meat — and certainly before you fire up your grill — take a moment to brush up on the best cuts, the best methods and the myths that might be standing between you and your best steak.
Preparing the grill
Whether you’re working with charcoal or a gas flame, you should make sure you brush off excess buildup on your grill’s grates — ideally after grilling, so you’re not dealing with it the next time you want to cook over an open flame.
If you’re using a gas grill and need to clean before you cook, crank the heat up to high for 15 minutes with the lid closed, then turn off the gas and open the lid. A few passes with a grill brush or balled up aluminum foil between a pair of tongs should do the trick and get rid of any unwanted food particles and grease.
If you’re using a charcoal grill, make sure to clean out the ash catcher and replenish the charcoal before you light it. Next, with all the air vents open, preheat the grill for about 15 minutes until it reaches a temperature of about 450 degrees, then use a grill brush or tongs and aluminum foil to clean.
Preparing the meat
First up: the meat itself. No matter what flavors you’re planning for your seasoning or marinade, they’re going to involve salt, which can also have a tenderizing effect on steak and other proteins when applied in advance. So you might want to salt your steak a day in advance and let it rest in the fridge; in that case, less salt will go a longer way. Or, you can salt it just before you put it on the grill. In “The Food Lab,” chef and food writer J. Kenji López-Alt suggests salting meat more than 40 minutes or less than three minutes before cooking. Anything in between, he warns, will leave too much moisture on the surface and reduce the chances of getting the sear you’re seeking with a grilled steak.
There are many great premade marinades and seasoning blends available, and you should feel free to get creative with the spices you have on hand. If you want to lean on a recipe, consider a marinade with brown sugar or red wine and herb-infused oil. Or go heavy on cracked pepper. Or try apricot preserves.
And whether you marinate or season hours in advance or right before grilling, make sure you pat your steak dry right before it’s time to grill. That will keep steam from forming when the meat hits the hot grate and make for a better crust.
Conventional wisdom dictates that a steak should sit at room temperature for 20 to 30 minutes (or more), to slowly bring it closer to the temperature at which you’ll serve it and thus promote more even cooking.
Steven Raichlen, a cookbook author, TV host and grilling expert, said he takes his steaks straight from the fridge to the grill. He worries about even the slim chance of encouraging bacterial growth, and he said it’s a myth that steaks need to rest at room temperature before cooking. (At Serious Eats, López-Alt performed an experiment that affirmed Raichlen’s approach: He left a steak on the counter in his 70-degree kitchen for 20 minutes, and the temperature at the center of his steak rose less than 2 degrees.)
Thinner cuts: Searing is best
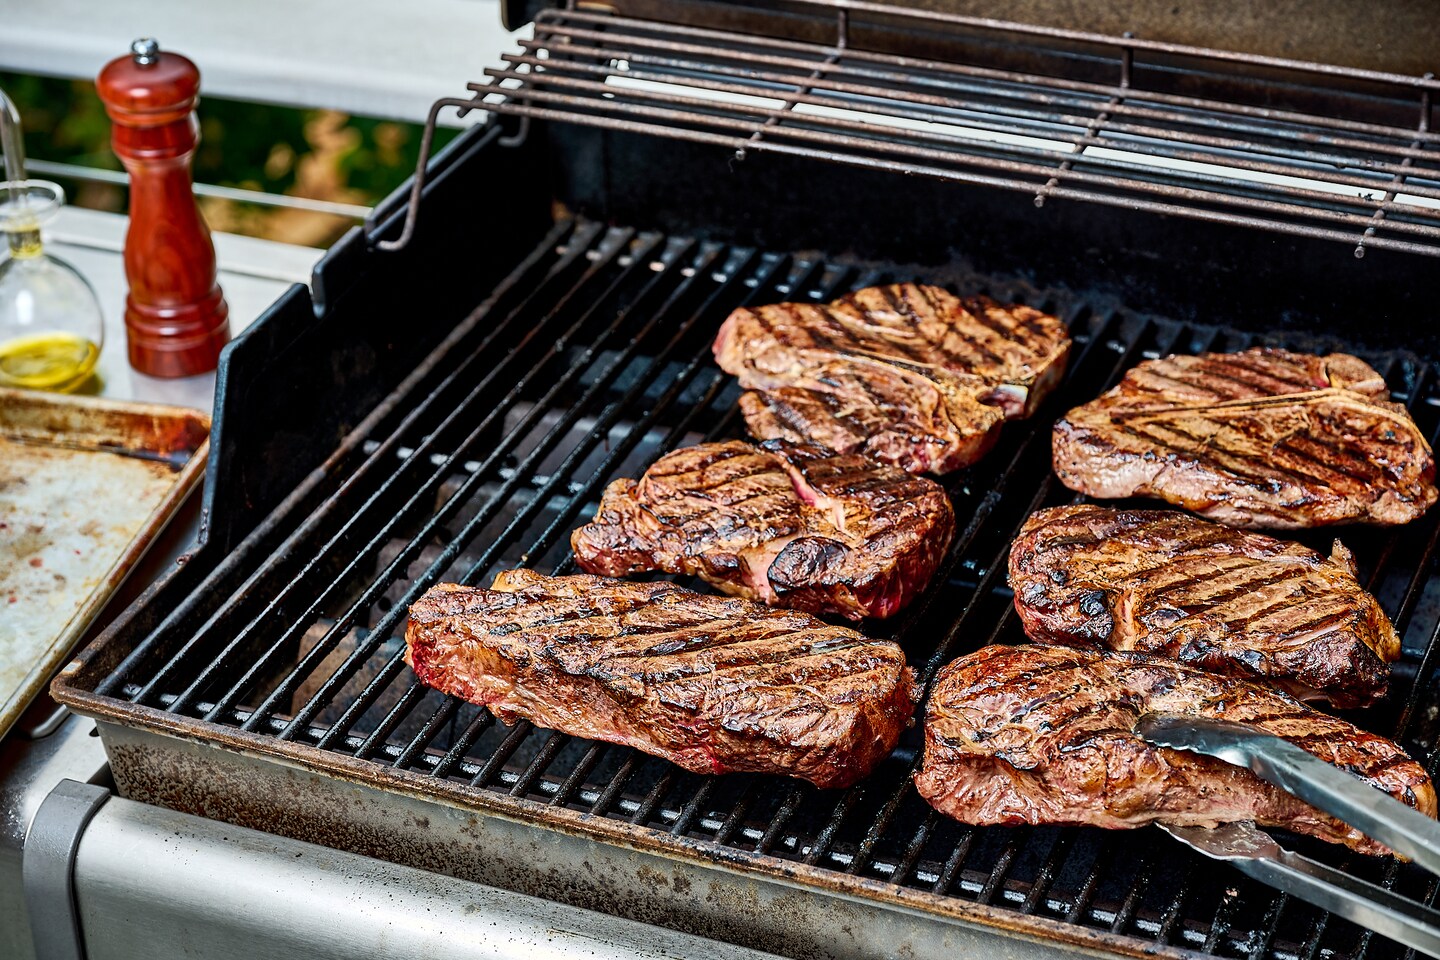
For belly cuts — these are thinner options, such as flank, skirt, flap and hanger — preheat your grill to between 450 and 550 degrees. The final cooking time will depend on several factors — the precise temperature of the grill, the thickness of the steak and your desired doneness — but for a medium-rare belly cut, aim for about 10 to 12 minutes. You can flip the meat once, after about five minutes, but Raichlen advises more frequent flipping. He said he’s recently started flipping steaks three, four or even five times to get a better crust without burning the meat.
If you like the aesthetics of crosshatch grill marks, rotate your steak 90 degrees between flips. And make sure to keep the heat high and the grill top open throughout; there’s no need to worry about losing heat with these thinner cuts, since you’re relying on a high, direct flame to cook them. Plus, leaving the lid open allows you to flip the steaks more frequently and keep a close eye on how quickly they’re cooking.
As for doneness: Use an instant-read thermometer, and always pull your steak off when it’s eight to 10 degrees cooler than your desired final temperature, regardless of the cut. (A medium-rare steak will register at 135 degrees, medium at 145 and medium-well at 150.) Don’t worry about piercing your meat with a thermometer or even a fork. It won’t cause your steak to dry out, Raichlen said.
With belly cuts, there’s one caveat: Sometimes they’re thin enough that it’s hard to get an accurate temperature read from the center. In that case, try the finger test, which compares the firmness of the steak to the flesh beneath your thumb. Touch the tips of your middle finger and thumb of one hand together. With your other hand, press the flesh below where your thumb meets your palm. That’s how a medium-rare steak should feel.
After your steak has rested for about 10 minutes, slice it, making sure to cut against the grain, which will make the meat easier to chew.
Thicker cuts: Indirect heat makes a difference
Noble cuts, such as New York strip, rib-eye and T-bone, are typically more than an inch thick. They’re also often more expensive, Raichlen said, and “intrinsically tender,” and grilling them poses a unique challenge: It can be tricky to cook noble cuts to your desired internal temperature without burning the exterior.
Instead of focusing on searing, your best bet is to turn your grill into a kind of convection oven and cook the steaks, to start, over indirect heat.
Begin by heating your grill to between 250 and 300 degrees. Any warmer, and you’re at risk of overcooking. Place your steaks on the grill and close the lid, which will trap the hot air and cause it to circulate, helping the steak cook evenly. This will prevent you from winding up with a steak that’s undercooked in the center and burned on the exterior.
Cook the steaks until they reach an internal temperature of 100 degrees on an instant-read thermometer. The time this takes will depend on the thickness of the meat, but it should be in the ballpark of 25 minutes. Next, take the steaks off the grill and let them rest for 10 minutes while you crank the grill’s heat up to high, between 450 and 550 degrees. Then slide the steaks back onto the grill and sear them, flipping at least once, until the outside is deep brown, with a blackened crust in spots, and the internal temperature lands where you’d like it for your preferred level of doneness. This should take about five to six minutes for a medium-rare steak.
There’s another, opposite method that’s easy to try if you’re working on a gas grill with multiple burners: the “sear and slide” technique. (It’s possible to sear and slide on a charcoal grill, too, but the setup is a bit more complicated.) Start by setting one side of your grill to high heat and the other side to medium/low. Place your steaks on the hot side, searing them just like you would a belly cut, until they achieve the level of crust you desire. Aim for about one minute per side. At that point, check the internal temperature so you have a point of reference, then slide the steaks over to the medium/low side of the grill (at which point you can turn off the flame on the hot side). Cook them, flipping occasionally, until they’ve reached the internal temperature you’re looking for.


